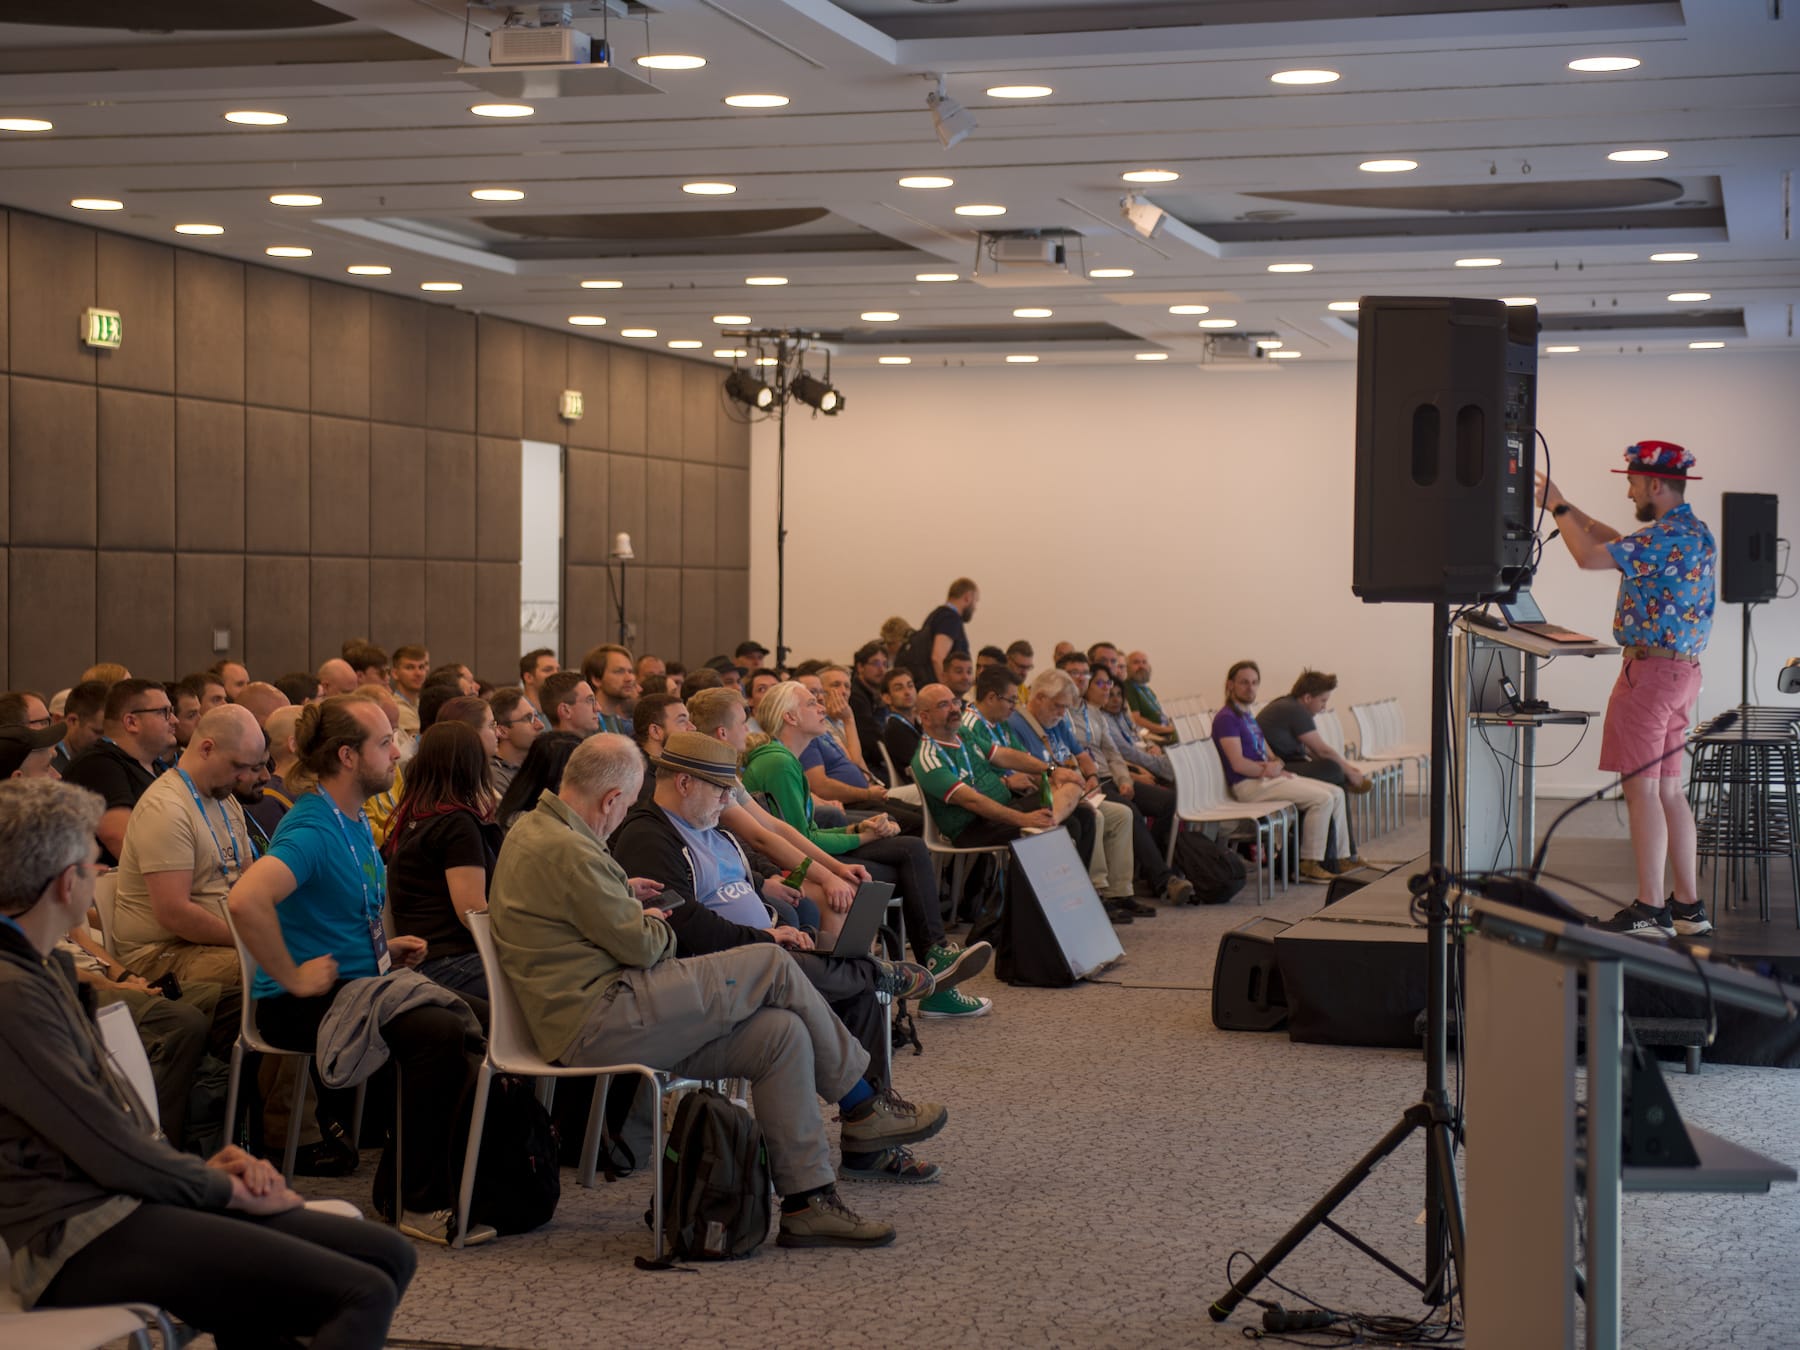
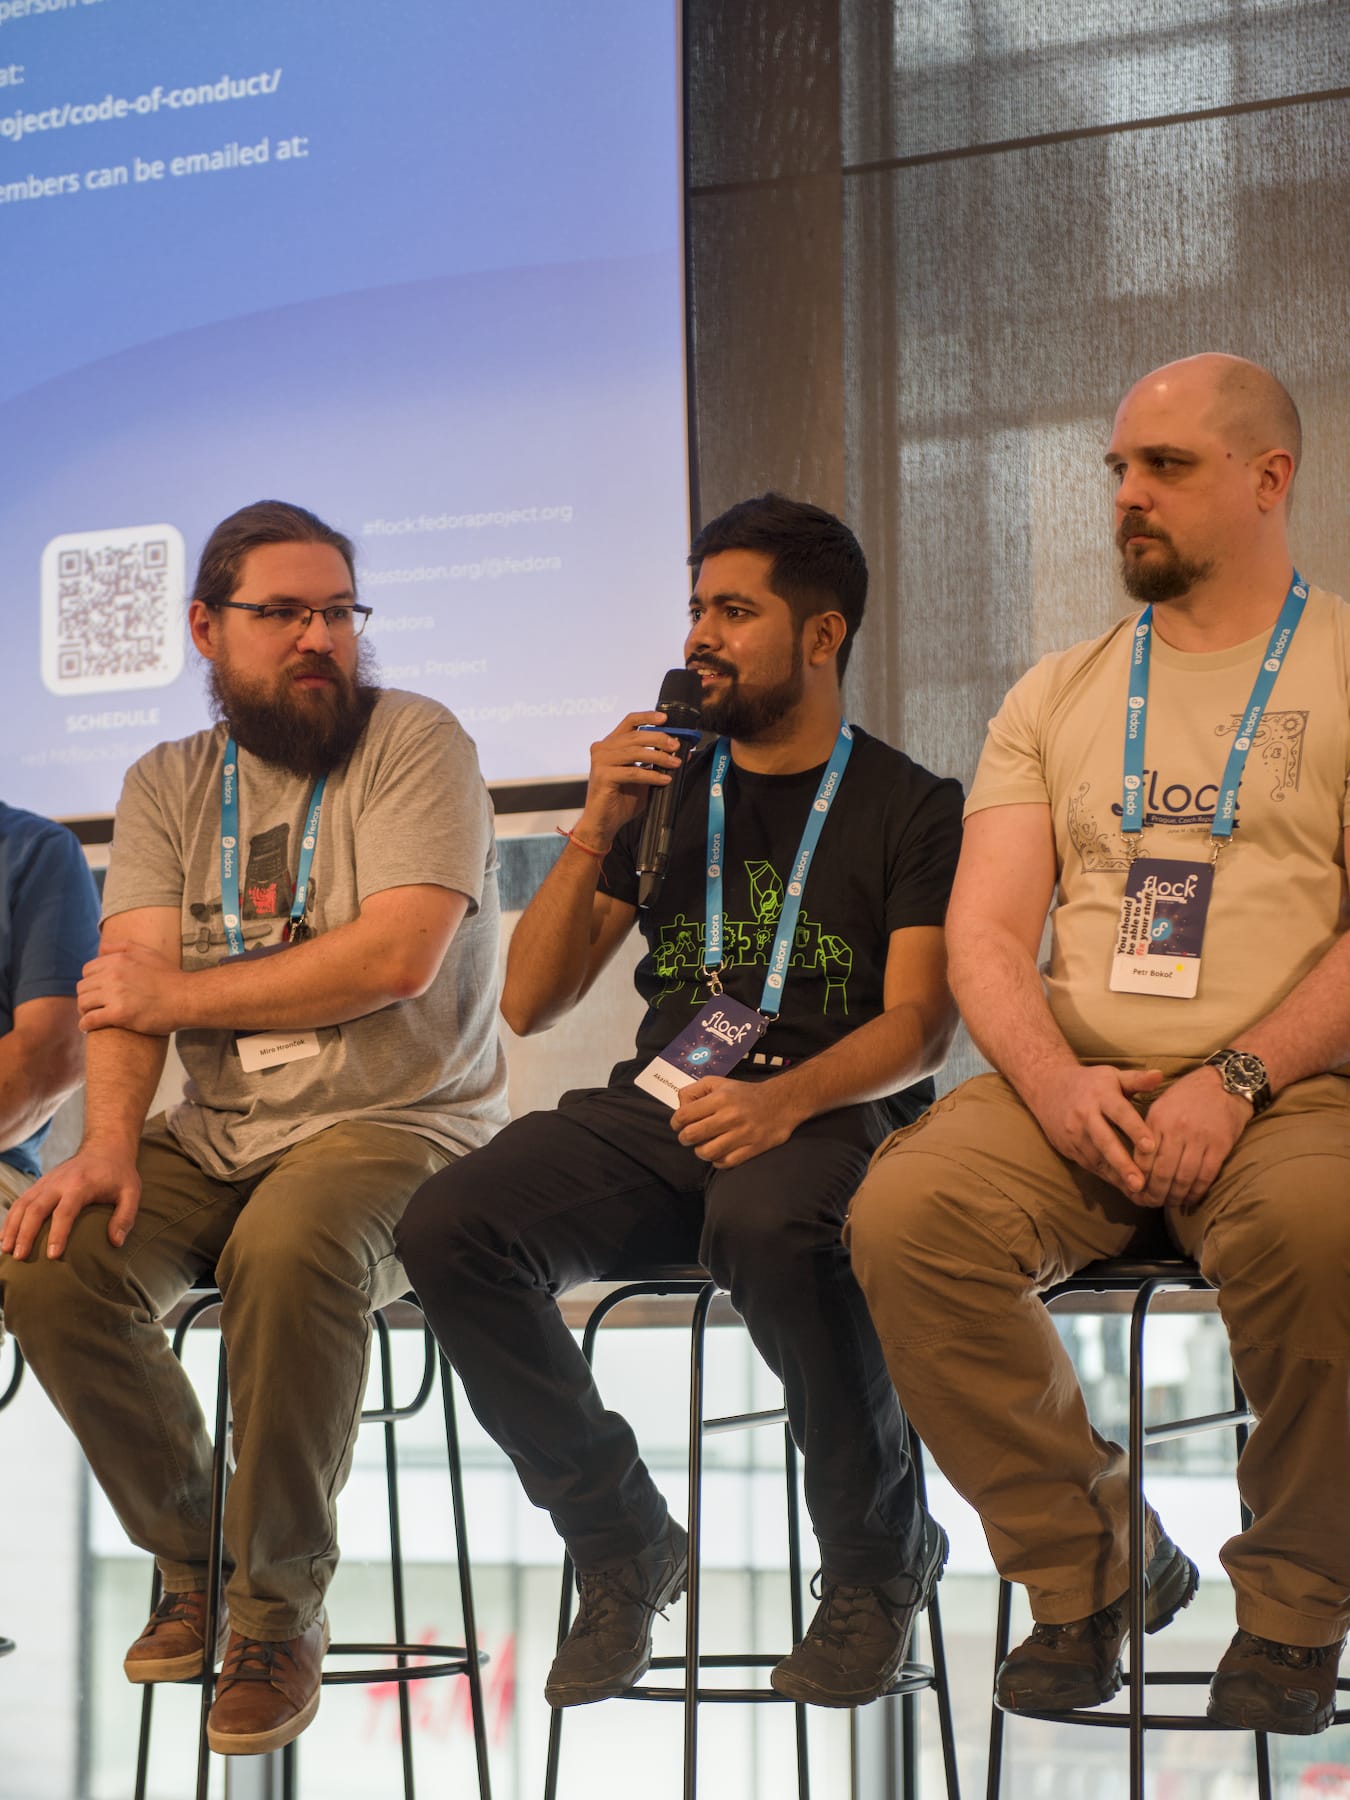
Across the various Fedora working groups, the primary shared focus this week was the successful completion and subsequent fallout management of the Fedora 45 Mass Rebuild, which required extensive coordination from Release Engineering, Quality, and language-specific SIGs (like Python and Perl) to triage build failures and ABI changes. Another major cross-team initiative is the ongoing infrastructure migration to Forgejo, with the Docs, Infrastructure, Design, and Release Engineering teams actively working to transition repositories away from Pagure ahead of strict deadlines. Security, cryptography, and compliance also emerged as a prominent theme, highlighted by FESCo's new two-factor authentication (2FA) mandate for packagers, the Security SIG's efforts to align with the EU Cyber Resilience Act (CRA), and system-wide cryptography updates like the transition to Sequoia. Finally, teams are heavily engaged in Fedora 45 feature stabilization and policy refinement, actively addressing cross-desktop bugs—such as the memory-crashing default wallpaper in KDE—while updating governance and packaging guidelines to reduce contributor burnout and streamline community workflows.
Announcements
For Fedora contributors, the Fedora 45 Mass Rebuild has officially completed, and a reminder was issued that the F45 Self-Contained Change proposal deadline has closed. To reduce contributor burnout and avoid split-brain conversations, an F46 Change Proposal aims to move all future Change discussions exclusively to the devel mailing list, ending simultaneous threads on Discourse. In other community news, the long-running Community weekly updates are being replaced by "This Week in Fedora". Developers looking to test new tools can engage with a proposed F45 Change to introduce encapsule, a new CLI utility for safely running untrusted internet scripts in isolated containers, which pairs nicely with a recent Fedora Magazine guide on sandboxing AI coding agents with microVMs.
Numerous technical Change Proposals were announced this week, notably for Fedora Atomic Desktops, which are slated to adopt the new Anaconda WebUI and gain web-based remote installation support. On the security and cryptography front, Fedora plans to transition RPM signature verification to Sequoia via a new %openpgpverify macro to support Post-Quantum Cryptography, and will begin phasing out the deprecated in-kernel Crypto Userspace API. System-level updates include deprecating the low-memory-monitor package in favor of native GLib handling, enabling systemd-oomd and zram swap by default on CoreOS, and updating authselect to both hardcode nss-altfiles and remove the outdated NIS profile. Finally, desktop users will benefit from an update to IBus 1.5.35, which improves XKB keymap handling across Wayland environments.
Council
The Fedora Council is currently seeking community feedback on a draft Conflict of Interest Policy intended to guide governance groups. Following initial discussions, the draft will be revised to ensure it only applies to governance bodies, removes overly strict recusal requirements (such as preventing FESCo members from voting on their own changes), and protects contributor privacy under GDPR by not requiring the disclosure of the specific nature of a conflict. In infrastructure news, the Council advanced the Fedora Forge usage policy after reaching a compromise to mandate a "tickets" repository for all organizations as a unified contact method, rather than automatically archiving inactive repositories after 12 months.
Additionally, the Council addressed a few administrative requests. They investigated suspicious Forge organization requests originating from newly created accounts; while a vague Software Engineering SIG request was rejected, the situation successfully led to the revitalization of the Java SIG by an established contributor. The Council also reviewed a trademark permission request to sell Fedora community stickers on a Slovak open-source web shop, and granted an exception for FreeIPA to host an organization on the Fedora Forge due to its foundational role in Fedora Infrastructure.
Decisions
Learn more about the Council team.
FESCo
FESCo had a highly active week reviewing numerous Fedora 45 Change Proposals and discussing project policies. Major technical discussions included the Forgejo dist-git migration planning, a proposal to restrict Change Proposal discussions to the devel mailing list to prevent "split-brain" conversations, and a fast-track proposal to gate all stable release updates on rmdepcheck. The Enable Shadow Stack by Default on x86_64 proposal was deferred pending a clarified mitigation plan for affected software like Rust, Python extensions, and NVIDIA drivers.
On the security and contributor front, FESCo is officially requiring two-factor authentication (2FA) for all provenpackager group members, with a three-month grace period for existing members before their access is temporarily downgraded. A broader proposal to require 2FA for all packagers is also currently in the works. Additionally, the FESCo election policy was adjusted so that replacements for members stepping down mid-term will serve a full year if only one person drops out.
Decisions
Learn more about the FESCo team.
Packaging Committee
During their 2026-07-23 meeting, the Packaging Committee addressed broken links in the DefaultServices guidelines (FPC#1556), agreeing that linking directly to the fedora-release source tree is too fragile and difficult to maintain. They also reviewed a draft update for NPM packaging guidelines (FPC PR#1553). Contributors noted concerns with the draft's example spec file—specifically regarding how bundled libraries are handled as separate source tarballs and the disabling of automatic requirements. The committee will wait for the Node.js SIG to finalize the draft and address these concerns before conducting a deeper review.
Additionally, the committee discussed the need for clearer versioning guidelines for pre-release snapshots. A pull request is currently being drafted to explicitly define the use of the ~^ syntax, ensuring that untagged snapshots sort correctly before tagged pre-releases (e.g., beta1). This clarification will be proposed for gradual adoption to avoid disrupting existing packages and to help maintainers avoid sorting errors.
Decisions
- The committee agreed to remove the fragile source tree links in the DefaultServices guidelines and replace them with a general text instruction directing packagers to check the
fedora-release package directly.
- Formal review of the new NPM packaging guidelines is paused until the Node.js SIG removes the work-in-progress status and addresses initial feedback.
Learn more about the Packaging Committee team.
Mindshare
In their July 23 meeting, the Mindshare committee discussed shifting their social media strategy to rely on "Digital Ambassadors" rather than a dedicated Marketing team, proposing the use of Buffer to securely manage account access. This new direction will be tracked in a fresh ticket, replacing the outdated issue #26. The team also addressed regional support by reviewing a swag request for the French community (issue #126) and noted the need to update the Meetbot documentation to reflect Matrix-native commands.
On the contributor engagement front, the CommOps team is actively seeking new members and a committee representative, prompting the reopening of CommOps issue #145. Highlighting this opportunity, a new contributor with a communications background recently introduced themselves on the forum to join CommOps. Meanwhile, the committee continues to seek asynchronous votes to finalize the Mindshare representative for the Fedora Council.
Decisions
- Approved approximately $500 in swag for the French community to cover a year of local and regional distribution.
- Decided to close the three-year-old social media access ticket and open a new one focused on testing Buffer for Digital Ambassadors.
- Reopened the ticket for the vacant CommOps representative seat to encourage volunteer engagement.
- Extended the vote for the Mindshare Council representative by one week to allow for asynchronous participation due to a lack of meeting quorum.
Learn more about the Mindshare team.
Workstation / GNOME
The f45-backgrounds package is now available in Rawhide, introducing wide-gamut color support for the default Fedora 45 wallpaper. To provide a cleaner Appearance menu, the "Time of Day" animated wallpapers have been separated into optional, dedicated sub-packages for GNOME and MATE. Shortly after the release, testers reported that the default wallpaper was rendering as solid grey in KDE due to memory allocation limits being exceeded by the massive 12800x12800 .jxl image file (mailing list thread). The design team will shrink the image to 8K in the next update to resolve this.
On the networking side, a forum discussion highlighted an issue with Fedora's IPv6 behavior on networks with non-persistent prefixes. When a router reboots and fails to invalidate old prefixes, Fedora attempts to route through older IPv6 addresses instead of defaulting to the newest one, causing connectivity drops until the old lease expires. Contributors are looking into a proper NetworkManager or kernel-level fix, but in the meantime, users can employ NetworkManager dispatcher scripts listening for dhcp6-change events as a temporary workaround.
Decisions
- The "Time of Day" animated wallpapers have been split out of the main background packages into dedicated sub-packages (
f45-backgrounds-gnome-time-of-day and f45-backgrounds-mate-time-of-day).
- The default Fedora 45 wallpaper resolution will be reduced to 8K to fix memory allocation failures in KDE Plasma.
Learn more about the Workstation / GNOME team.
KDE
This week, the KDE group discussed a multi-monitor window management behavior where connecting an HDMI display automatically moves all open windows to the external screen, even if the laptop screen remains the primary display. Participants identified that KDE remembers window layouts and specific monitor hardware identities from previous sessions, which is likely a side-effect of the desktop environment's new "session restore" feature. While some users appreciate this persistent layout, others find it disruptive, particularly when applications do not open on the currently active desktop.
Contributors noted that this is an upstream KDE matter rather than a Fedora-specific bug. The behavior has been reported to the KDE bug tracker, and users clarified that it persists even when virtual desktops are configured to switch independently for each screen. Developers and contributors interested in refining session restore logic, multi-monitor window placement, or adding options to clear saved monitor layouts are encouraged to engage with the upstream KDE community to help improve this functionality.
Learn more about the KDE team.
Server
During the weekly Server WG meeting, contributors advanced the Fedora home server spin-off by outlining a minimal KIWI development environment using libvirt, which will be documented in the home-server repository README. The group also discussed standardizing documentation styling, with a strong preference emerging for using backticks for CLI commands and file paths; a formal proposal will be added to the open pull request. In community news, voting to officially add Brett and Ro as working group members remains open until July 31, and contributors are encouraged to participate in manual installation testing for the upcoming Fedora 45 release.
In a forum discussion about Fedora's handling of non-persistent IPv6 prefixes, a community member provided a workaround for routers that fail to invalidate old prefixes after a reboot. Users experiencing connectivity drops can use NetworkManager's dispatcher.d to run a cleanup script on dhcp6-change, as there is currently no native kernel or NetworkManager option to force the system to exclusively use the newest IPv6 address.
Decisions
- For Fedora 45 release testing, the links in the tracking tickets will be updated to point to the newest test build, and the tickets will be left in their current status columns to restart the manual testing cycle.
Learn more about the Server team.
Infrastructure
This week, the Infrastructure team made significant progress on the RHEL10 migration, successfully transitioning the batcave Ansible control host and IPA (FAS) systems, which caused some expected temporary monitoring alerts. Preparations for the Fedora 45 Mass Rebuild are also underway, including the removal of the F45 autosign config to prevent unnecessary re-signing by robosignatory, aligning with the recent F45 self-contained change deadline. On the Forgejo front, the team packaged Forgejo 15.0.5, deployed a new CI runner for the Marketing team, and began prototyping ForgeFiler—a Flask web application designed to securely handle sensitive reports like Code of Conduct violations and GDPR requests in private repositories.
There are several excellent opportunities for contributor engagement this week. The team is actively looking for help investigating broken image links on older MediaWiki pages, resolving grokmirror missing repository issues, and improving Zabbix monitoring by investigating SLA structures to reduce alert fatigue. Additionally, work continues on a Grafana proof-of-concept for the Fedora Data Working Group and the deployment of the new siguldry signing bridge in the staging environment.
Decisions
- The team decided to set up a staging instance of
public-inbox for SCM commits, utilizing yearly archives and placing it behind Anubis to evaluate its performance and manageability before a potential production rollout.
Learn more about the Infrastructure team.
Release Engineering
The Fedora 45 Mass Rebuild has successfully concluded, utilizing new retry logic scripts and updated, beginner-friendly documentation. Following the rebuild, Release Engineering ran the mass tagging script and filed FTBFS bugs for failing packages. To stabilize the buildroot and unblock Rawhide composes, several problematic builds—including desktop-backgrounds, jsoncpp, and openssl-pkcs11—were untagged. In other release news, F47 keys have been added to fedora-repos and are now available in updates-testing, and the f45-perl side tag was successfully merged to Rawhide.
Infrastructure migrations are progressing, with toddlers changes prepared for moving scm-requests from Pagure to Forgejo; a coordinated "flag day" will be scheduled once fedpkg updates land. For contributors looking to get involved, there are active efforts to consolidate mass rebuild script configurations and fix false positives in the need_rebuild.py tracker. Finally, maintainers are reminded to use the fedpkg request-unretirement command for automatic package unretirements rather than opening manual Releng tickets.
Decisions
- The process to re-sign F44 content with the F45 key will be separated into its own Standard Operating Procedure (SOP) document to improve the mass branching workflow.
- The legacy Pagure
fedora-scm-requests repository will be archived only after the new Forgejo repository and related fedpkg changes are fully deployed and verified to prevent synchronization issues.
Learn more about the Release Engineering team.
Quality
The Fedora 45 mass rebuild is now complete, with the next major milestone—the branch point and first change completion deadline—scheduled for August 11th. During their weekly meeting, the Quality team reviewed upcoming F45 Changes to plan community Test Days, highlighting features like RPM 6.1, Podman 6, and DrmPanicFrontend. In news relevant to the broader Linux ecosystem, the team investigated unexpected font changes caused by freetype 2.18 that may also impact CentOS and RHEL. Additionally, it was noted that the mcelog package is currently unmaintained, prompting discussions about finding a new maintainer or replacing it with rasdaemon by default.
For contributors looking to get involved, nightly composes for Fedora 45 Rawhide are actively seeking release validation testing. Testers can also evaluate the new f45-backgrounds package, which separates the "Time of Day" animated wallpapers into optional sub-packages, though an update is pending to fix a bug where the massive 12K image size breaks KDE Plasma. The team also made a major revision to the Fedora CI documentation, added new KDE start/stop tests to openQA, and welcomed a new young contributor looking for a QA sponsor.
Decisions
- The team decided to group several major Fedora 45 Changes into dedicated test day tickets and initiated coordination with the respective package maintainers to organize these events.
Learn more about the Quality team.
Design
The Fedora 45 backgrounds are now available in Rawhide, introducing wide-gamut color support and splitting the "Time of Day" animated wallpapers into dedicated sub-packages. Following reports that the initial 12800x12800 resolution caused memory crashes in KDE and GIMP, the wallpapers are being scaled down to 8K. Looking ahead, the Fedora 46 wallpaper inspiration poll is live until July 31st, asking the community to choose between four STEM figures whose names start with "U". In infrastructure updates, the team successfully migrated the upstream fedora-logos repository from Pagure to the Design team's Forgejo space, alongside updates to the fedora-remix-logos package.
For contributors looking to get involved, new UX and web design opportunities are available. The Fedora Websites and Apps team is seeking a design for a new credits page to showcase project contributors. Additionally, Project Resistor, a Fedora Remix, needs UX assistance to improve its Jekyll-based website. The team also finalized the YouTube thumbnails for Flock 2026 and continues iterating on a community onboarding flyer and an onboarding video series.
Decisions
- The upstream
fedora-logos and fedora-remix-logos repositories have been officially adopted by the Design team and migrated to Forgejo.
- The F45 default wallpapers will be resized to 8K to resolve memory allocation issues.
- The "Time of Day" animated wallpapers for F45 have been separated into dedicated GNOME and MATE sub-packages for a cleaner appearance settings experience.
Learn more about the Design team.
Docs
The Docs team's primary theme this week was platform migration and content consolidation. A major focus remains the Forgejo migration tracker, driven by the strict July 31, 2026, deadline to move all active documentation repositories off Pagure.io. While the majority of Pagure repositories have been successfully migrated, contributors are finalizing the last few pending moves, including the Defensive Coding Guide and the i3 SIG docs. To further streamline information, the team also opened a new ticket to coordinate with Commops to resolve duplicate Special Interest Group (SIG) documentation that is currently split between the legacy Fedora Wiki and the official docs site.
Contributors looking to get involved can assist with the next phase of the Forgejo migration. With the Pagure deadline approaching, the team needs help opening separate planning tickets for remaining GitLab repositories (which involve more complex CI pipeline migrations) and reaching out directly to the owners of various GitLab and GitHub repositories to coordinate their moves.
Decisions
- The team operationally resolved to formally trigger Commops to complete the SIG wiki page migration to eliminate duplicate content.
- Remaining GitLab repository migrations will be handled via separate, dedicated planning tickets rather than the main tracker.
Learn more about the Docs team.
Internationalization
During the Internationalization meeting, the team reviewed upcoming Fedora 45 changes, noting that proposals for fontconfig (System Wide Change) and LibreOffice Dictionaries (Self Contained Change) are currently moving through the approval process. The F45 mass rebuild has also finished with under 1,000 failures, and package maintainers are urged to check the failure logs for their packages. Specific rebuild failures with ibus-table and ibus-typing-booster were noted and are actively being investigated.
To help prepare for upcoming releases, contributors are encouraged to assist with Fedora 43 bug triaging by fixing outstanding issues or deferring them to a later release. The team also reviewed the upcoming schedule, highlighting the July 21 deadline for Self Contained Change proposals and the August 11 deadline for both branching Fedora Linux 45 from Rawhide and the testable completion checkpoint.
Learn more about the Internationalization team.
EPEL
This week, EPEL focused on infrastructure improvements and package maintenance, prominently featuring a proposal for EPEL 11's minor version design that was also discussed in the weekly meeting. To prevent private mirroring errors, the proposal suggests keying URLs off the CentOS $stream variable rather than the RHEL $releasever_minor variable, though this first requires RHEL derivatives to stop improperly defining $stream. In package news, an accidental soname change in ImageMagick broke dependencies in EPEL-8 and EPEL-9, but patched builds have been published and are awaiting testing karma. Additionally, a slightly incompatible update replacing p7zip with 7zip is pending further discussion in upcoming meetings.
For contributors, feedback is requested on a planned migration to libgit2 v1.9 for EPEL 9 and 10 to resolve multiple CVEs; the maintainer plans to submit pull requests to affected packages soon. Other notable updates include CVE fixes for ntfs-3g and a contributed fix to fedpkg that enables feature branch workflows directly from EPEL minor version branches.
Learn more about the EPEL team.
ELN
During the July 21st meeting, the SIG announced that image-builder is now successfully building ELN qcow2 images, with hyperscaler images up next. The ELN mass rebuild is currently in progress following the F45 mass rebuild, presenting an engagement opportunity for contributors to help fix over 40 packages currently failing to build (F45FTBFS). Another contribution opportunity involves providing a ppc64le VM to the upstream retsnoop developer to fix architecture-specific bugs. In broader news, LXQt has been added to Extras in preparation for EPEL 10, python-wheel was dropped from ELN proper, and progress continues on bootc with a Konflux tenant merged and plans to explore composefs native images in the future.
Decisions
- To prevent disruptive surprises, future image change requests (such as altering default partition layouts or dropping firmware) will be filed in the ELN bug tracker and discussed during meetings.
boot.iso images will now only be created for BaseOS to match CentOS Stream and RHEL, which saves disk space and speeds up composes by over 30 minutes.
Learn more about the ELN team.
Atomic
This week, the Atomic group saw a brief but helpful update regarding system recovery. In a forum discussion on how to reset the root password in Silverblue, a community member highlighted that official documentation is now available for resetting passwords via rescue mode on Atomic Desktops. This provides a standardized and reliable resource for the broader Linux community when troubleshooting locked atomic systems.
Learn more about the Atomic team.
CoreOS
During the CoreOS meeting on 2026-07-22, the team highlighted that the proposal to merge Butane into Ignition has officially entered the FESCo voting phase. As part of this transition, Butane will undergo a procedural freeze to shift active development directly into the Ignition repository, a move expected to greatly improve configuration composability for users. Additionally, the group reviewed the Fedora 45 release schedule, noting that the proposal submission deadline for Self-Contained Changes has passed, with the next checkpoint for retiring orphaned packages scheduled for August 4th.
A significant portion of the meeting focused on a potentially disruptive proposal to increase the default /boot partition size for new installs. Developers raised concerns that older nodes retaining the smaller partition might eventually lose the ability to upgrade, forcing users to reprovision. To prevent users from accidentally clobbering custom data partitions during this process, an action item was created to form a small working group. This group will brainstorm failure scenarios and design safeguards against inadvertent data destruction, presenting an excellent opportunity for contributors to get involved in shaping safe upgrade paths and documentation.
Learn more about the CoreOS team.
AI & ML
This week, the AI & ML SIG focused on team roster management and establishing infrastructure for AI agent skills development. A notable change in membership occurred as a contributor requested to step down from the SIG due to time constraints and LLM-related burnout (Issue #36). On a broader scale, the group is actively working on standardizing AI capabilities using the Agent Skills specification, which allows guided, agent-neutral skill definitions to be shared, improved, and used by any model.
To support this growing initiative, the SIG successfully established a new "Skills Reviewers" sub-team to create, review, and curate shared AI skills in the skills-library repository (Issue #31). The necessary infrastructure, including a new FAS group and a linked Forgejo team, has been fully deployed and seeded with initial volunteers. For contributors looking to get involved, there is an immediate opportunity to provide feedback on the initial draft of the human reviewer guidelines, which has just been submitted as a pull request.
Decisions
- Establishment of the Skills Reviewers Team: The SIG officially created the
skills-reviewers sub-team in FAS and Forgejo, granting them write access to the ai-ml/skills-library repository. A lightweight review process was instituted, requiring at least one reviewer approval before merging skill PRs (Issue #31).
- Membership Update: Proceeded with the removal of
salimma from all AI/ML SIG access control lists (FAS, Forgejo, and Discourse) per their request to step away from the group (Issue #36).
Learn more about the AI & ML team.
RISC-V
The Fedora 45 mass rebuild is actively underway, with core components like binutils and annobin completed, and GCC 16 and Python 3.14 currently in progress. The team is managing build times across 19 RISC-V builders, noting intermittent build failures on RVA23 hardware and system hangs on P550 boards during Rust builds—though a recent SiFive firmware update resolves the latter. To improve build infrastructure, new high-RAM Titan boards from Arace are arriving, and contributors can help optimize Koji builder profiles to automatically route heavy packages to these faster nodes. Meanwhile, the transition from the K3 vendor kernel to Fedora RISC-V "omni" kernels continues, supported by updated documentation for K3 bootstrap and Milk-V Jupiter.
In broader ecosystem news discussed during the July 21 SIG meeting, PR 778 was merged into upstream rhboot/shim, paving the way for proper signed shim packaging in future releases. Additionally, the team is conducting virtualization testing on remote K3 hardware (including OVMF firmware tests) and engaging in technical discussions with Qualcomm engineers regarding a hardware-probing syscall to detect RISC-V extensions.
Decisions
- The team will delay switching the mass rebuild tracker over to F45 until the GCC 16 rebuild is fully complete.
- Despite upstream progress on
shim, the SIG will continue using the current standalone shim-unsigned-riscv64 package for the time being to ensure boot stability while the official Fedora packaging is sorted out.
Learn more about the RISC-V team.
Security
This week, the Security SIG focused heavily on aligning Fedora's security documentation with the EU Cyber Resilience Act (CRA) requirements (Ticket #14). During their weekly meeting, the team discussed creating a unified SECURITY.md file that designates Red Hat as the formal CRA steward while maintaining Fedora's community security processes. To improve visibility, contributors proposed surfacing these new policies and a standard security.txt file on Fedora's main marketing sites once completed (Ticket #16).
The group is also working on formalizing private vulnerability reporting channels and embargo processes. Ongoing discussions include setting up a secure Bugzilla component for incoming package and platform reports (Ticket #17), establishing Fedora representation on the private linux-distros mailing list alongside a pre-disclosure agreement (Ticket #13), and potentially creating a Fedora Badge to act as a "hall of fame" reward for external security researchers who submit valid reports (Ticket #18).
Decisions
- The SIG will use Ticket #14 to document the overarching CRA compliance plan and spin off individual Forgejo tickets for each of the six specific CRA guideline items to allow for parallel work.
- New security documentation will temporarily be hosted in the
forge/security/docs repository to prevent bureaucratic delays while drafting the content.
Learn more about the Security team.
Go
This week, the Go packaging community discussed the introduction of docker-credential-helpers to Fedora. In a thread about packaging the application, contributors shared guidance on handling empty vendor archives and properly configuring CGO_CFLAGS and GO_LDFLAGS using macros to correctly build the pass and secretservice helpers. Additionally, an excellent contributor engagement opportunity has arisen: a call for reviewers and sponsors was made for a new contributor who has successfully recreated the SRPM to adopt the orphaned fx package and is currently awaiting a package review.
Decisions
- When packaging Go applications with empty vendor archives, spec files should retain the standard vendor macros to ensure consistency across Go packages and future-proof against new dependencies.
- An empty
modules.txt warning from rpmlint (caused by a lack of vendored modules) is not considered a blocker for package approval.
Learn more about the Go team.
Perl
The major focus this week is the Perl 5.44 upgrade, which has been approved by FESCo. A dedicated f44-perl build-root has been created for the delicate process of bootstrapping core modules. To avoid disruptions, contributors are explicitly instructed not to build anything into this new build-root, though they may freely continue pushing upgrades to Rawhide in parallel. In other ecosystem news, a rebuild for MySQL 9.7 was initiated for perl-DBD-MySQL, and perl-Coro-Multicore was manually patched to resolve an atfork_child naming collision with Perl 5.43.2+. Several routine version bumps were also merged for packages like perl-HTTP-Message and perl-ExtUtils-MakeMaker-CPANfile.
Decisions
- A pull request to build
perl-HTTP-Daemon with Module::Build on RHEL was rejected and closed. Maintainers decided against carrying custom, untested patches in the repository, opting instead to strictly follow upstream development.
Learn more about the Perl team.
Python
Due to an incompatible ABI change in the Python 3.15.0b4 release, the team initiated a targeted rebuild of approximately 750 Python packages with extension modules in Rawhide. The rebuild took place in a dedicated side tag and experienced some delays due to slow s390x builders, culminating in a massive Bodhi update. The rebuild was officially completed on July 25, and normal Rawhide package builds have now resumed.
Maintainers of the roughly 30 packages that failed to rebuild during this process are asked to investigate and fix their builds in the side tag. The remaining failing packages are being tracked in a dedicated Bugzilla ticket (PYTHON3.15b4), presenting a clear opportunity for contributors to help get the remaining packages updated for the new Python 3.15 ABI.
Decisions
- Contributors were instructed to temporarily halt building Python packages with extension modules in Rawhide to avoid disrupting the side-tag rebuild and testing process.
- As of July 25, the side tag was successfully merged, and the temporary freeze on Rawhide builds for these packages was lifted.
Learn more about the Python team.
Other Discussions
- Hummingbird Community Meeting - 23 July 2026 discussed the agenda for their upcoming meeting. Topics included AI's impact on open source, maintainer overload, and utilizing "factory" patterns for automated PRs to ensure contributions meet project standards.
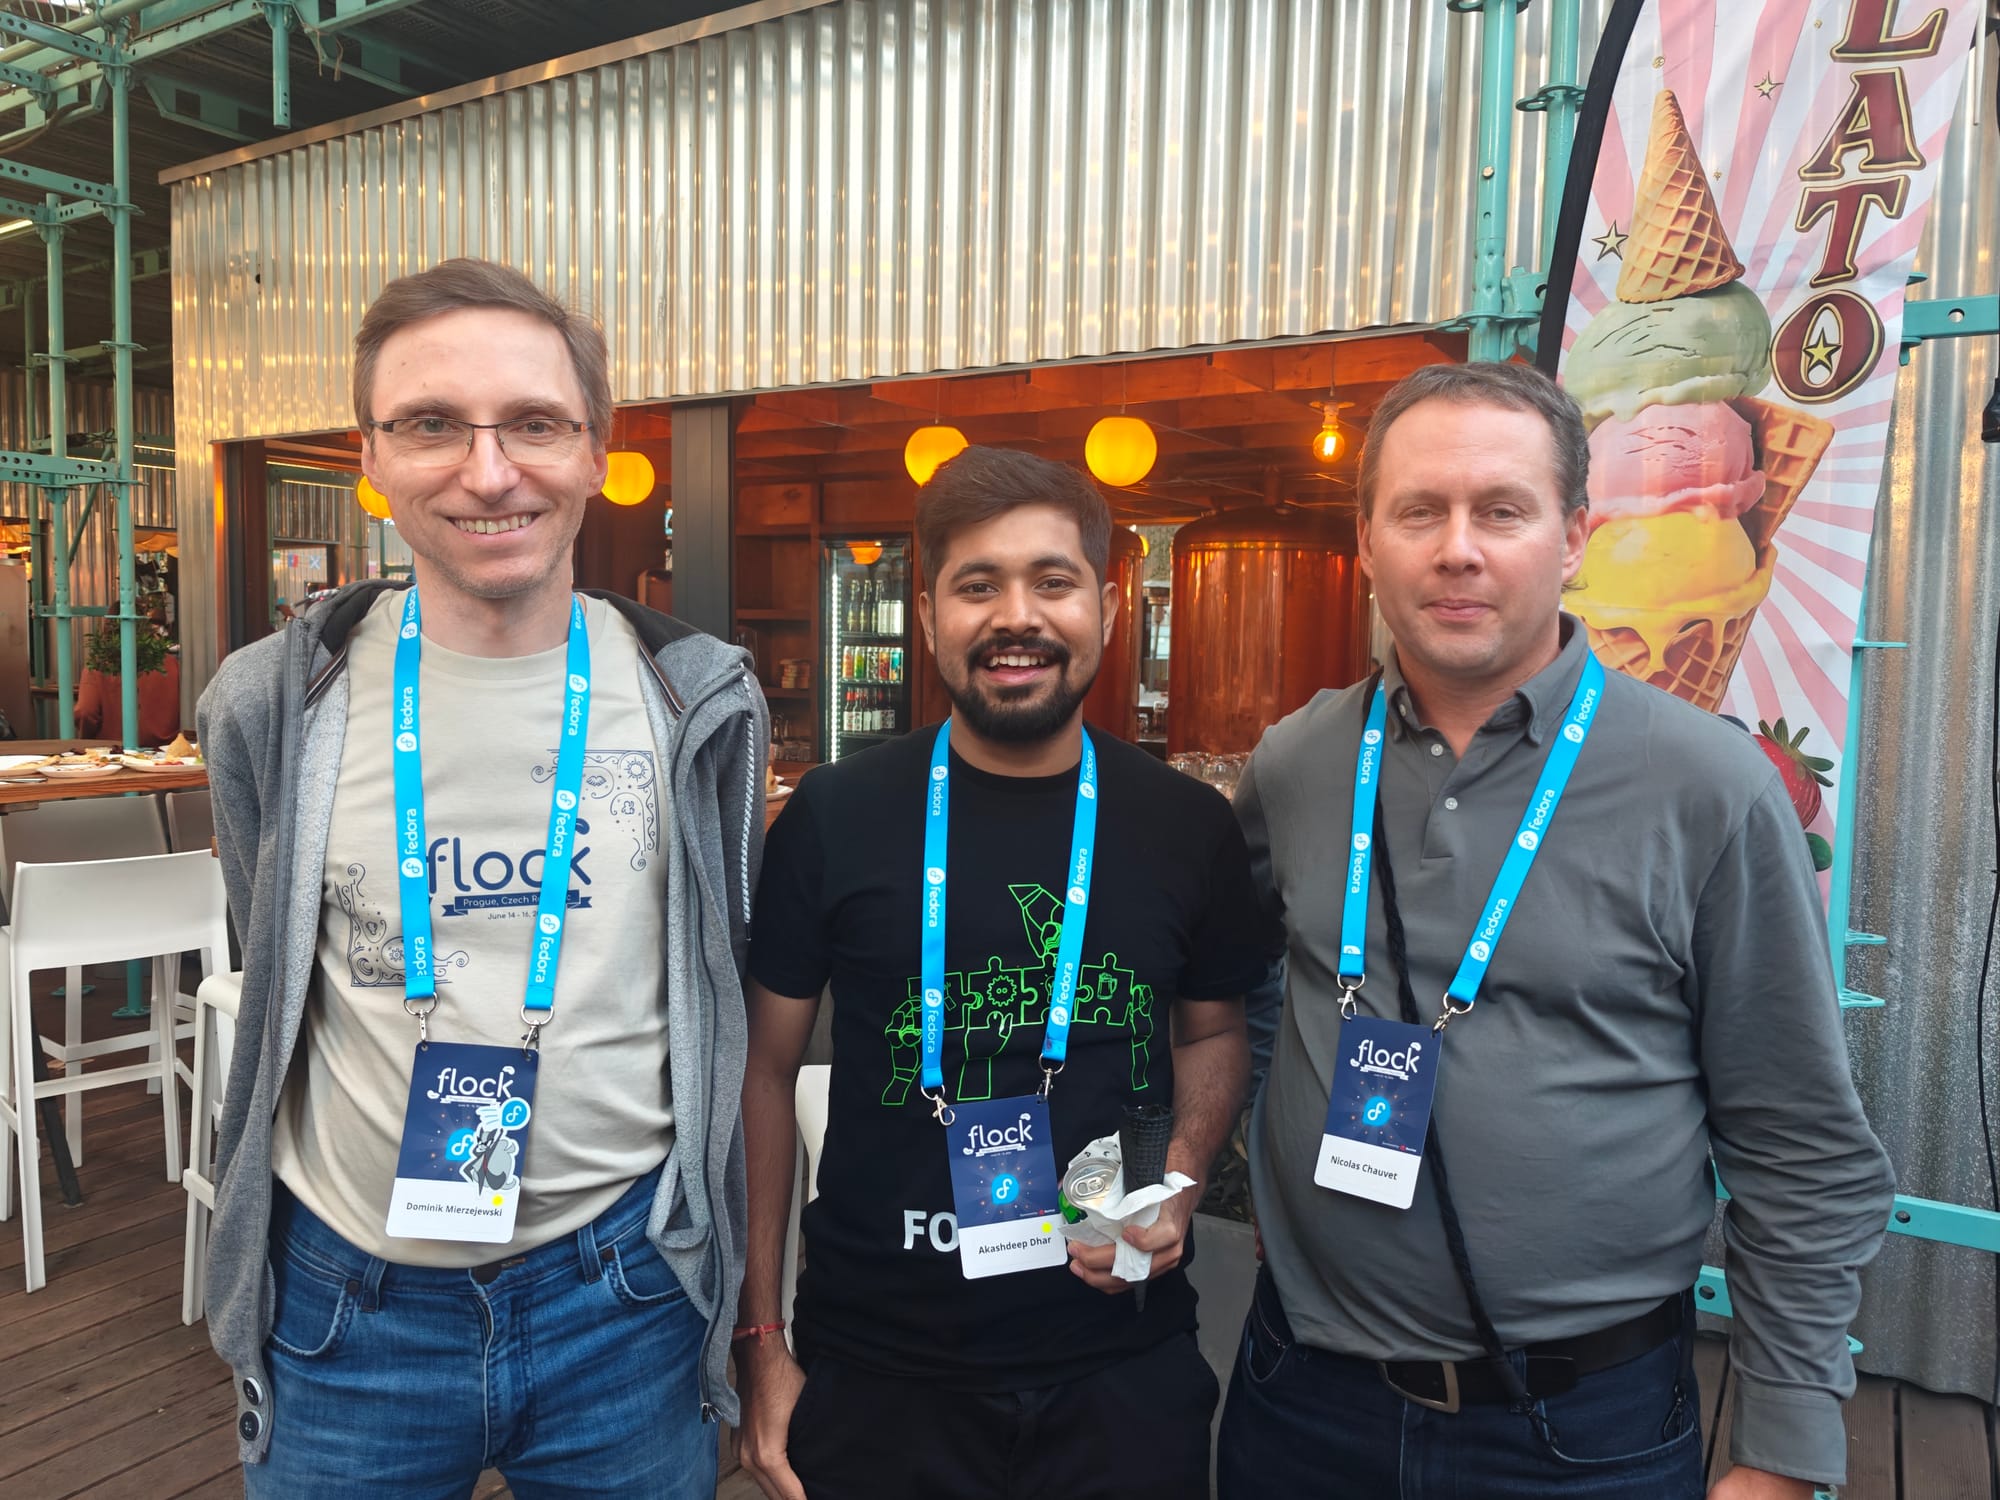
- In How the Fedora 45 Sausage is Made, Simon de Vlieger shared a blog post detailing the process of producing Fedora, from packages to final artifacts like ISOs and disk images.
- A Change Proposal to use Sequoia for OpenPGP verification sparked a debate. The proposal suggests introducing an
%openpgpverify macro to replace GnuPG with Sequoia, but developers strongly argued for keeping the existing %gpgverify macro name to avoid massive ecosystem churn and API/ABI breakage.
- The Shadow Stack by Default on x86_64 Change Proposal aims to enable hardware-enforced protection against ROP exploits. Discussions highlighted the need for i686 builds in testing repositories and clarified QEMU/libvirt support for the feature.
- A discussion on i686 removal - easy win set proposed adding
ExcludeArch: %{ix86} to roughly 3,400 leaf packages to save build resources. While some suggested an opt-in approach for i686 instead, the consensus leaned towards moving forward with this opt-out approach via a formal Fedora 46 Change Proposal.
- The Disable in Kernel Crypto Userspace API (Phase 1) Change Proposal seeks to restrict the deprecated API to known users before upstream removes it entirely. Maintainers raised concerns about losing rootless access to LUKS containers for non-AES ciphers and VeraCrypt support, though the change is primarily about preparing users for the inevitable upstream removal.
- Adam Williamson announced a new feature for on-demand openQA testing of dist-git pull requests. Contributors can now comment
/openqa test on a PR to trigger tests on the corresponding Packit scratch build, with results reported directly back to the PR.
- The RelocateRpmRepoConfigsToUsr Change Proposal intends to move RPM repository configurations from
/etc to /usr. Adam Williamson raised concerns that this could disrupt existing workflows and scripts, suggesting it be escalated from a self-contained to a system-wide change.
- A Change Proposal for Web Based Remote Installation Support for Atomic Desktops aims to allow secure remote installations via the Anaconda WebUI. This opt-in tech preview will authenticate users with a PIN over HTTPS, bypassing the need for VNC/RDP clients.
- A targeted rebuild of Python packages with extension modules was announced for Rawhide due to an incompatible ABI change in Python 3.15.0b4. Maintainers were asked to hold off on building affected packages until the side-tag was successfully merged.
- Other discussions included a user trying to release a new version of a package, reminders for the F45 Self-Contained Change Proposal Submission deadline (and a duplicate reminder), complaints about slow s390x builds during the mass rebuild, a Change Proposal for LibreOffice Dictionaries, a review request for dupeguru, a fix for an outdated golang package on koji el8 build machines, questions about GCC plugins packaging for AFL++, inquiries if nextcloud-client is still maintained, a proposal to deprecate low-memory-monitor, an update for IBus 1.5.35, a proposal for Encapsule isolated devel containers, a proposal to switch to the Anaconda WebUI for Fedora Atomic, a proposal to hardcode nss-altfiles in Authselect profiles, a proposal to remove the Authselect NIS Profile, a proposal to enable systemd-oomd and zram swap for CoreOS, a patch submission for libndp, a clarification on why FTBFS bugs are no longer filed between mass rebuilds, a request of exemption for f45-backgrounds, and a request to add a CUDA backend to the Ollama package.
Orphaning packages
Package updates
- The f45-backgrounds package is available, but its initial 12800x12800 image broke KDE Plasma, prompting a resize to 8192x8192.
- An unannounced soname bump for nettle caused FTBFS for multiple packages, leading to a workaround using the
nettle3.10-devel compat package.
- Similarly, an unannounced soname bump for openssl-pkcs11 broke
rng-tools and the compose process, which was quickly fixed in a side tag.
- InsightTooklit 5.4.6 is coming to rawhide, requiring rebuilds for
alizams and petpvc.
- A planned Flint soname bump was postponed because
e-antic is not yet compatible.
- A shadow rebase and libsubid SONAME bump was announced, requesting rebuilds for
apptainer, buildah, podman, and skopeo.
- The release of
jimtcl 0.84 introduced a jimtcl soname bump affecting openocd.
- The Perl 5.44 upgrade has started in a dedicated build-root.
New contributor introductions


 . But most projects don’t need one.